Showing posts with label Blogger Help. Show all posts

Thursday, December 3, 2009

All about whos.amung.us widget

All about who.amung.us widget


General Questions
Installation Instructions
The Original Widget
The Maps Widget
Understanding Your Stats Pages
Pro Help
Share:

Wednesday, December 2, 2009

Real-time stats for your website or blog

 Real-time stats for your website or blog


Currently Online Readers Widget

A small widget which display how many users are currently online. The widget also indicates which pages are currently being looked at.


 Real-time stats for your website or blog

whos.amung.us was created to bring you innovative web stats. They are not traditional. Page views are too easy to count.


Free widget services:
You will not be required to provide any personally identifiable information, or any information at all, should you choose to install one of our free widgets on your website in order to utilize our statistics services. You, and any user who visits a website containing a whos.amung.us Inc. widget, will be providing an IP address, page URL reference, and browser/operating system information in the request header. This is a standard HTTP request header and is available freely to the operator of any website you choose to visit. We log certain aspects of this header purely for statistical reasons. We may log certain aspects of the content where our widgets are installed, as well as non-personally identifiable actions users may take on these sites/pages (such as a copy action). If collected this data is logged purely for statisitical reasons.


Subscription based pro widget service:
In order to effectively provide our subscription based Pro service we require owners of websites who wish to use our services provide relevant information for contact and billing purposes, this may include, but is not limited to: names, addresses, emails, zip/postal code information, phone numbers, billing information, etc. In addition to the information collected by the above free widget service, pro widgets may collect more information such as user operating system and browser. Again, this information is derived from a standard HTTP request header and is available freely to the operator of any website you choose to visit. We log certain aspects of this header and other information collected via Javascript purely for statistical reasons, no personally identifiable information is collected, or released to any third party.


Currently Online Readers Widget

Share:

Saturday, November 21, 2009

Blogger limits and Conditions

Blogger limits and Conditions

There are usage limits imposed by every free service, including Blogger.com.


1. Number of Blogs

There is no limit on the number of Blogger Blogs you can create with your Google account. If you are creating Google sites using Google Page Creator, you are allowed to have a maximum of 5 different sites.

2. Blog Address

This is the name inserted between http:// and .blogspot.com. The limit is 37 characters.

3. Blog Title

The Title can go up to 90 characters.

4. Blog Description

The Blog Description can have a maximum of 500 characters.

5. Profile

When you are at “Edit User Profile” page, you can add information about yourself under “About Me” and this has a maximum of 1,200 characters. For other fields like “Interests”, “Favorite Movies” and so on, each has a limit of 2,000 characters.

6. Number of Team Members

You can have as many team members, contributors or administrators as you would like. Add the authors under Settings -> Permissions.

7. Number of Posts

There is no limit to the number of Posts you can have in each Blog. All the posts (whether published or saved as drafts) will be in the Blogger account unless they are deleted. With or without the Archives Page Element in your Blog, the posts are still stored.

8. Size of Posts

There is no limit to the size of each post but as we shall see, there is a limit to the page size. Because of that, if you are posting the entire contents of your book, try to split it into chapters and have each chapter under a new post. Otherwise, you may find your very long post not displayed once it hits the page size limit.

9. Size of Pages

Each page has a size limit of 1MB. This is a rather large size and if your posts are short, you can display a few hundred posts on the main page. At the moment, under Settings -> Formatting, you can show up to 999 posts on a page. Should you encounter a 006 error message, you can set a smaller number of posts so that the page size limit will not be exceeded. As mentioned earlier, if your one post already exceeds the 1MB limit, there is little you can do except to split that article into separate posts.

10. Size of Pictures

As we had mentioned in Manage Blogger Image Storage Space, pictures and graphics that are uploaded onto our free Blogger Blogs are now stored in Picasa Web Albums and it assigns each Google account a storage capacity of 1GB. Since this stores the pictures of all our blogs under the one Google account, we would have to pay Google should we need more storage space. The alternative would be to create new blogs under different Google accounts. (Note that in Google Pages, the total size of pages and uploaded files cannot exceed 100MB.)

11. Size of Videos

Recently, Blogger introduced a new feature which allows you to upload videos in your posts. The upload is done through Google Video and there is no limit to the number of videos you can upload, nor is there a limit on the size or length of each video.

As Google also owns YouTube, you may like to know that there is a 100MB file size limit and a maximum 10-minute length limit for YouTube videos. Should Google Video merge with YouTube one day, their rules on usage may be aligned.

12. Amount of Bandwidth

While some service providers place a daily or monthly cap on the amount of data that can be transferred from their sites, Blogger does not appear to impose such bandwidth limits. There is no problem to you having a million visitors a day to your Blog. What you should be mindful of is the limit imposed by external providers. For example, if the Blog's background images are uploaded onto free image hosts, once the bandwidth limit imposed by these hosts is exceeded, the background images will not be loaded and visitors will see many empty spaces in your layout.

13. Number of Comments

There is no limit to the number of comments to the posts. They are saved in your account even if you choose to “Hide Comments” under the Settings -> Comments tab.

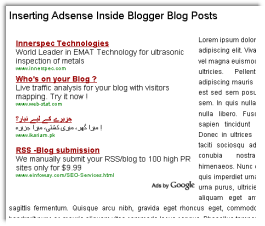
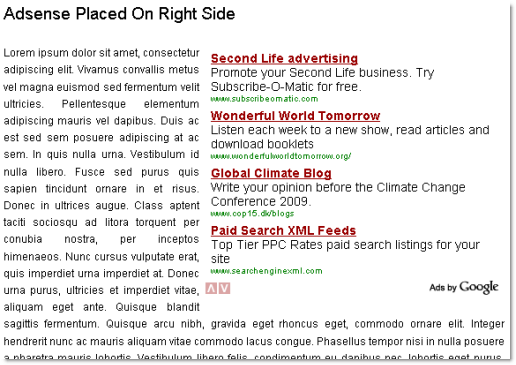
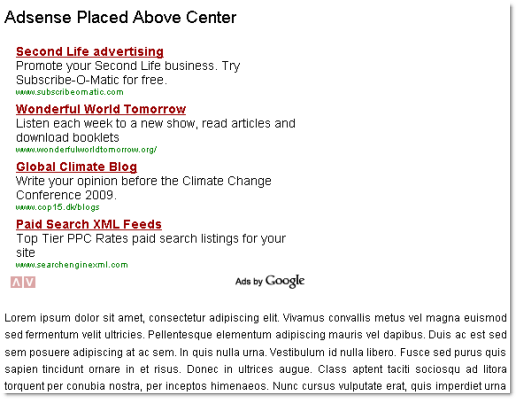
14. Number of AdSense Ads

Since you can insert Google AdSense Ads through the Blogger “Add a Page Element” function, for the sake of completeness, we should also state the current limits stipulated in AdSense rules. Each Blog page can display a maximum of:-

  • three AdSense for Content Ad units;
  • two AdSense for search boxes;
  • three Link units;
  • three Product Referral units

This means that even if you have configured AdSense Ads to appear after every post, on a page where there are ten posts, AdSense for Content Ads will automatically be shown in only three of them.
Share:

Tuesday, November 17, 2009

Adsense ads inside the Blogger Posts

Adsense ads inside the Blogger Posts
Placing adsense inside the blog posts increases adsense ads CTR (click through rate).

Using simple layout page, you can place these ads anywhere in your blogger blog, like in the sidebar, before posts, below posts even between the posts, but by using any gadget, you can't place them INSIDE any post.


WHY TO PLACE ADS INSIDE POSTS?

There's no gadget available to place adsense ads inside the posts. So, to Place adsense ads inside a blogger post, you have to modify the template a little bit to place the adsense code in there.

And if you dont know, then let me tell you that CTR of the ads inside the blog posts is much more higher than the ads outside posts.

There are dozens of articles explaining this method of placing ads, but most of them are either poorly explained or without any screenshot. But here I'll try to keep the procedure as simple as possible.

So, here it is:

INSTALLATION

1. Get your adsense code, and Encode it before placing.
To do the encoding, you can use "Postable"

2. Now, go to Layout section and "Edit HTML" tab.

3. Its always recommended to download a backup of your template before making some changes. So download the template!

4. Click "Expand Widget Template" checkbox.

5. Press "Ctrl+F" and find:


<data:post.body>
</data:post.body>

If you are using "Expandable Post Summaries" in your template, then you'll find

and infact two of them.
In that case, you are supposed to place the adsense code above the first

<p><data:post.body></data:post.body></p>


6. Now Copy the code below and paste it just ABOVE the tag you searched in step 5.


center;padding:5px;'>
--- PLACE YOUR ENCODED ADSENSE CODE HERE ---


...Don't forget to replace the text in red with your encoded adsense ad code, that you have done in step 1.
These and
tags will decide the alignment of your ad. So dont leave these while pasting the adsense code.

DONE! After doing this step, An adsense ad will be placed just below the title and above the text of EACH and EVERY post of your Blogger blog automatically.

PLACING ANOTHER AD INSIDE POSTS

Now if you want to place another ad inside posts, but below the text of the post..You can search fo the same tag of step 5.
But this time place the code (of step 6) BELOW it.

This will place another adsense ad below the text of all the posts of your blog automatically.

Now you have 2 adsense units INSIDE your blog posts. One Just below the titles/above the text and second at the end of the posts' text. :)

Your code should look like this after placing the ads code.
Adsense ads inside the Blogger Posts


The highlighted gray area is the tag that you have to search.
Highlighted green area is the (encoded) adsense code.
Highlighted red are the and
tags that assign the alignment of the ads. I highlighted them, just to make the picture clear and easy to understand.
(Don't leave these tags while copying from step 6!!)

CUSTOMIZATIONS:

You can change the placement and alignments of these ads within the post.

ALIGNMENT

Just change the "center" (in blue) in step 6, to "right" or "left", to change the ad's alignments respectively.

See these screenshots, to understand the alignments.

"float: right"
Adsense ads inside the Blogger Posts

"float: center"
Adsense ads inside the Blogger Posts

PLACEMENT


You can also place the ads side by side inside the post.
To do this, you have to place both the ads, either ABOVE or BELOW
<p><data:post.body></data:post.body></p>


And after that, make one ad to float "left" and the other one to float "right". :)

Remember:

You can place maximum 3 adsense units on a page as per Google's Terms. If you are placing 2 inside the post, then you can place only one outside the post.
Like I placed, 1 in side bar, 1 inside the posts (just below titles) and remaining 1 below posts and just above "Related post". ;)
Share: